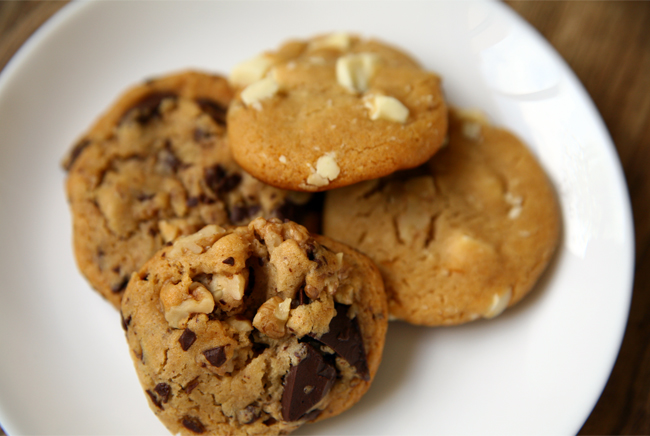
With all my baking pans sold and our pantry still half full, I decided I'd try and tackle a cookie recipe next. As we had a large bag of walnuts and a whole jar of honey, I did a google search for a recipe that would incorporate both ingredients. I eventually settled on this recipe from Baking Bites.

I was pleased to find that not only was the recipe super easy to follow, it also yielded a dozen of the chewiest cookies ever. Thanks to the honey, they also had a unique sweet flavor that we soon found to be pretty irresistible. With more honey and walnuts to go, I decided to make a second, third, and fourth batch to which I added some dark and white chocolate chunks (left over from when I made peppermint bark). The result was the chunkiest, chewiest cookie I've had in recent memory. We still can't decide if we like the white chocolate or the dark chocolate cookies better, but I guarantee that either are bound to put a smile on your face.

Chocolate Chunk Honey Walnut Cookies
Adapted from Baking Bites
1 c. all purpose flour
1 tsp. baking powder
1/2 tsp. baking soda
1/4 tsp. salt
1/4 cup brown sugar (pref. light)
1/4 c. vegetable oil
1/3 c. honey
1 tsp. vanilla extract
1/3 c. chopped walnuts
1/3 c. white/dark baking chocolate, chopped into chunks
1.) Preheat the oven to 350 degrees F and line a baking sheet with parchment paper.
2.) In a large bowl, whisk together flour, baking powder, baking soda, salt and sugar.
3.) In a small bowl, whisk together the oil, honey, and vanilla extract. Then pour into the flour mixture. Stir until almost combined.
4.) Stir in walnuts and chocolate chunks until they are well distributed throughout the cookie dough.
5.) Shape the dough into 12 round balls (approx 1-inch in diameter) and place onto the prepared baking sheet.
6.) Bake for 10 minutes or until cookies are slightly browned around the edges.
7.) Cool on baking sheet for 2-3 minutes then transfer to a wire rack to cool completely.


0 comments:
Post a Comment